
Roost & Garret shares practical, down-to-earth guidance on backyard chicken keeping for small uk gardens for readers across the UK.
- 0123456789
- Angle Bd Abdelmoumen & rue soumaya, Résidence
- [email protected]
Roost & Garret shares practical, down-to-earth guidance on backyard chicken keeping for small uk gardens for readers across the UK.
 By Thomas Ashcroft
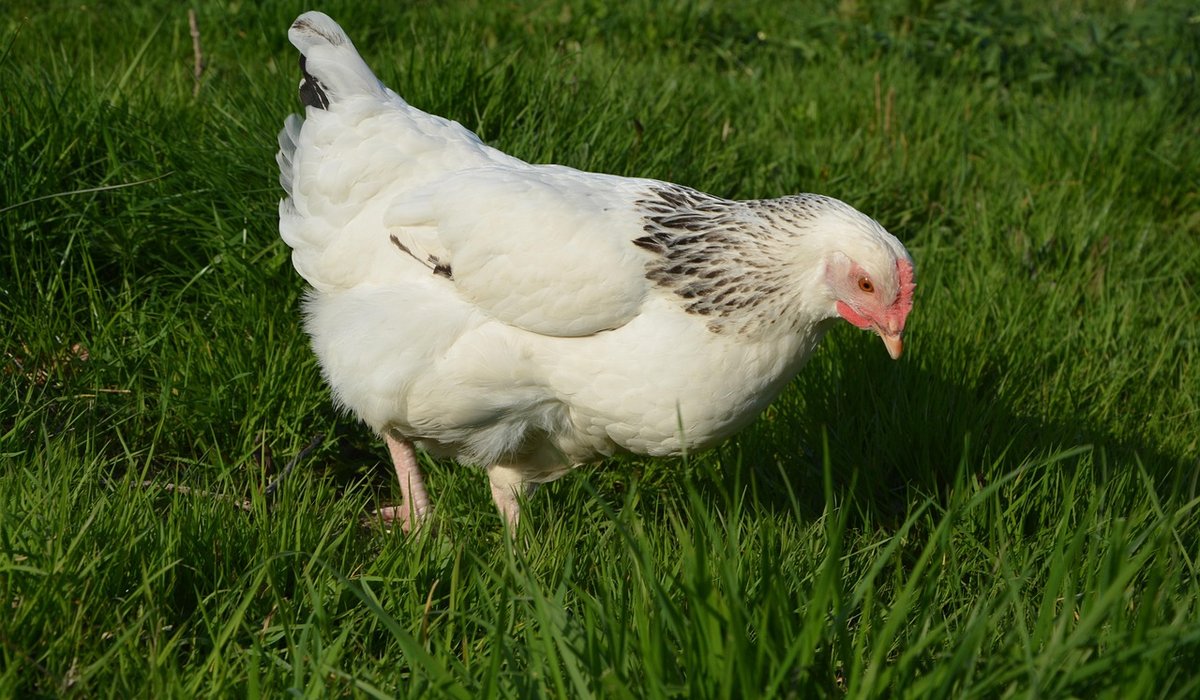
Chickens are hardy creatures, but they are not immune to the consequences of a dirty coop. Droppings, spilled feed, damp bedding and feathers all break down over time, creating the perfect environment for red mite, scaly leg mite, coccidiosis and respiratory infections. A quick daily spot-clean keeps things ticking over, but a proper deep clean every six to eight weeks — and more often in warm, humid weather — is what keeps your hens genuinely healthy and your egg supply steady.
There is also the smell to consider. If you can detect ammonia when you open the pop hole, the bedding is past its best and the air quality inside is doing your birds no favours. Ammonia irritates their respiratory tracts and can lead to serious problems down the line. A deep clean resets the whole house. Here is how to do it properly in a small garden setting, without specialist equipment or a whole afternoon of your time.
Having everything to hand means you are not traipsing back and forth mid-job with mucky gloves. Assemble the following:
Choose a dry, breezy morning. You want the coop to have time to dry thoroughly before the hens go back in at dusk. A damp coop is worse than a slightly dirty one.
Move your hens to a secure run or a temporary enclosure well away from the work area. Close the pop hole so nobody wanders back in. Remove feeders, drinkers, perches if they lift out, and nest boxes if they are detachable. Scrape off any caked droppings into your waste bag first — this stops the bedding from turning into a soggy mess as you pull it out.
Bag or barrow all the old bedding, then take a close look at the empty coop. This is the moment to spot problems you would otherwise miss: damp patches on the floor, cracked roof felt, loose screws, lifted roofing felt, gaps where mice or rats have chewed through, or telltale signs of red mite — tiny grey specks that turn red when squashed, often hiding in the joints of perches and under nest box lips. Deal with repairs now rather than after you have cleaned.
Perches collect a surprising amount of grime because hens roost there every night and droppings fall directly onto them. Rub them down with your stiff brush and hot soapy water, working along the length and paying attention to the ends where they slot into the frame. If the perch is removable, take it outside and scrub it on the lawn. Rinse, then leave it in full sun to dry — sunlight is a useful free disinfectant.
Nest boxes need the same treatment. Pull out any liners and wash the box itself inside and out. If you use removable plastic nest box liners, these are far easier to clean than timber and worth the small investment. Once dry, dust the joints with diatomaceous earth before refilling with fresh bedding.
With the bulk of the muck gone, spray every surface with your diluted poultry disinfectant — walls, floor, door frames, ventilation slots, the underside of the roof and the perch brackets. Leave it for the contact time stated on the bottle, usually around ten minutes, then wipe or rinse with clean water. Do not skip the rinse: residue can irritate skin and feet.
Now let the coop dry properly. Prop the door open in the sun and wind. Do not put bedding back while surfaces are still tacky or damp. In damp British weather, this can take longer than expected, so start early in the day. If rain is forecast, use a covered area or a garage with the door open for air circulation.
Once everything is bone dry, dust the perches, nest box joints and any crevices where mites like to hide with diatomaceous earth. Refill nest boxes first, using plenty of chopped straw or dust-extracted sawdust so eggs do not roll against bare boards. Then add a generous layer of bedding to the floor — around five to eight centimetres is plenty for a small garden coop.
Rehang the perches, replace feeders and drinkers, and give them a wash too while you are at it. Top up the dust bath outside if you keep one. Finally, let your hens back in and watch them inspect your work — most will immediately scratch the fresh bedding into a corner, which is entirely normal.
Deep cleaning is far easier if you keep on top of the basics between sessions. Remove droppings daily if you can, turn the bedding weekly, and replace soiled patches as needed rather than waiting for the whole lot to go. A quick scoop each morning takes two minutes and stretches the time between full cleans considerably. Keep a small notebook or a note on your phone to record the date of each deep clean, and aim for every six to eight weeks. Your hens will repay you with cleaner feathers, fewer health problems and a more consistent supply of eggs.


We are not gonna make spamming
